Saturday 12 November 2016

Exterior fiberglass repair

Once we completed the interior sides of each fracture zone, we checked to see how securely the new fiberglass on just the inside was holding the shell together.  Things looked pretty good, so we removed the plywood braces and addressed the exterior sides.  When Carl was applying the layers of fiberglass, we noticed that the adhesive tape that we had applied to the exterior sides had bulged out.  So our first step was to ensure that no parts of the fresh fiberglass protruded beyond the finished surface.  It had in some places, so we used the grinder and the sander to carefully take those places back down below the desired finished level.
Next, we applied one layer of woven mesh, followed by one or two layers of chopped strand mesh.  Then we sanded the edges once again to take the levels down to a point just below the finished exterior surface.  Bondo body filler went on next and was easily sanded smooth with the orbital sander.  Even the concave curves of the roof line achieved a smooth contour.  I didn't get any photos of these last stages of work, but here are some showing the trailer as we prepared it for winter storage.
Looks all right, eh?

We prepared the trailer for winter storage by cleaning up some of the old butyl caulking from the window frames.

Then we placed them back in the trailer, holding them in place with wood screws and small pieces of plywood in each of the four corners.
Here is the area above the front window, with sanded Bondo finish.

And the area above the rear window.  Those black dots are just Sharpie marker bleeding through the Bondo.
Inside we've put some of the trailer parts, including the doors and the mattress cushions.  No doubt we will be replacing all of that, but we thought we might need the old ones for reference next spring.
With strips of Ensolite hanging down, it's not a very inviting abode.
And here she is inside her winter shelter.
We won't do any more work on this trailer until next spring.  Over the winter we will make lists of jobs to do and appliances to purchase.  Then we will source-out all the parts and components we'll need, and make a budget for all the work.  Carl has a couple of colour schemes in mind.
But it's good to know that this trailer now has structural integrity; the obvious damage to the shell that may have discouraged a lot of potential buyers is no longer an issue for us.

Sunday 6 November 2016

Fiberglass Work

The repair work has gone quite well.  Carl and I watched several videos on YouTube to get ideas about how to proceed.  We assembled all the necessary supplies and tools:
West System epoxy resin and hardener
Woven fiberglass fabric
Chopped strand mesh
Beer cups and popsicle sticks for mixing
Disposable gloves
Cheap paint brushes
Paper towel
Grinder
Random orbital sander
Drill, and bits
Wood screws and finishing washers
Plywood strips
Adhesive tape
And then, down to business!
This is a view of the front side fracture zone.  The weakened fiberglass around the fracture has been ground out, and the hole is fairly large.  The fiberglass edges have been tapered on the inside and the outside.

This is the fracture at the rear window corner.  You can see the tapered edges.  The duct tape is there to keep the new glass and resin from pushing too far to the outside when they are applied.  The pieces of plywood are screwed from the inside, and they keep the two sides in alignment.  Once the new fiberglass on the inside has set, they will be removed.
Here, Carl is applying new glass and resin to the inside surface of the rear window fracture.  You can see the 2x2 and 1x3 that we used to jack up the roof on the damaged side of the trailer.  This was done so that the fiberglass would set with the correct alignment.

A close-up of the chopped strand mesh going on.

And this is what that repair site looked like once the resin had set.

The fracture at the back of the upper cupboard required several pieces of plywood to get the sides aligned properly.  We used red Tyvek-type tape here because we thought it might peel off better than the duct tape once the resin had set.  I don't think it made much difference.


Here is what it looked like from the inside, before applying the new glass and resin.

And this is what it looked like after the interior layers of glass were set, and the plywood bracing was removed.
We're really pleased with how things have gone so far.  We used two kinds of glass -- woven fabric for the first layer, and chopped strand mesh for building up the required thickness.  The epoxy resin was easy to mix and easy to work with, although it did get pretty viscose after only about 4 or 5 minutes.  We went through a lot of paint brushes, plastic cups, popsicle sticks, and disposable gloves.
Next job -- applying glass and resin to the exterior.

Monday 17 October 2016

Starting the fiberglass repair

Carl and I spent a few evenings devising a strategy for repairing the cracks and fractures in the fiberglass shell of this 1976 Trillium egg.  Following Carl's thorough cleaning of the Ensolite removal of all the interior doors, we settled on this order of events:
1. Remove the front, side and rear windows, the plywood furring strips around the window holes, and the belly band.
2. Peel back the Ensolite from each fractured area.
3. Grind out the compromised fiberglass surrounding each fracture from both inside and out.
4. Jack up the roof on the driver's side, since it had sagged considerably.
5. Re-align the fiberglass around each fracture using wood screws and plywood strips.
6. Apply several layers of new fiberglass -- fabric and chopped strand mesh -- to the interior side of the fractures.
7. Apply a layer of fiberglass fabric to the exterior sides.
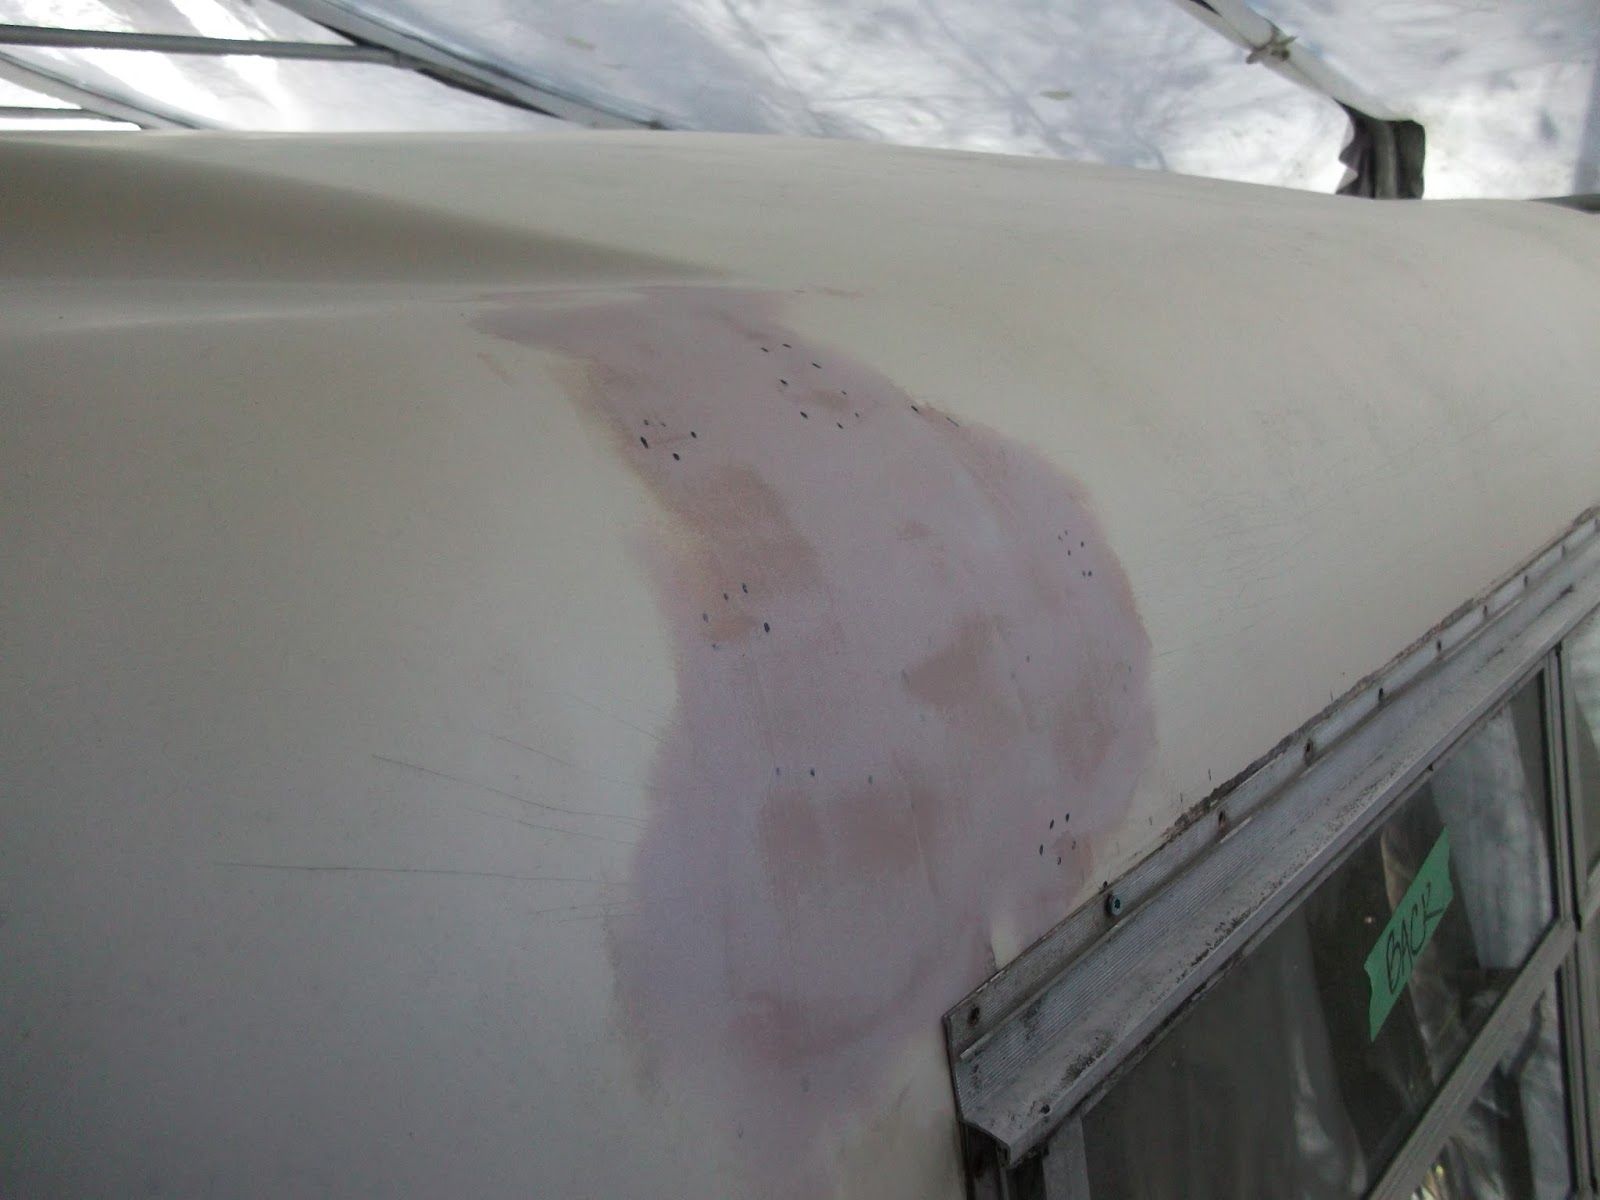
8. Apply Bondo body filler to the exterior, and sand.
9. Clean up the windows, and re-install for winter storage.

Our search for fiberglass resin, fabric and mesh took us to a boat building supply shop in Ottawa, Ontario.  We live in Muskoka, a region that is famous for boating and canoeing, and we couldn't find any suppliers of these materials in the quantities that we would need.  We watched several boat repair videos on YouTube, and then got down to the dirty work.
1976 Trillium: Drilling out the rivets holding the belly band.

1976 Trillium: Removing the belly band.

1976 Trillium: Removing the front sun shade.

1976 Trillium: Front window removed, and Carl is still smiling.

1976 Trillium: One section of Ensolite peeled back near the worst section of damaged fiberglass.

1976 Trillium: Fracture along the curve of the upper cupboard.


1976 Trillium: Carl using a knife to separate the Ensolite from the fiberglass roof.

Sunday 16 October 2016

Initial Condition

So let's have a look at this Trillium!
It was absolutely filthy inside, and Carl documented some of the cleanup in his blog.  I will start with the most worrisome part -- the damage to the shell.  This is why the purchase price was so "reasonable".  I'm pretty sure a tree limb fell on the roof, because I can't imagine that a heavy load of snow would make it buckle and fracture on just one side of the trailer.
1976 Trillium: this photo shows enormous cracks in the fiberglass shell above the front window and extending across the roof.

1976 Trillium: This shows damage to the driver's side wall and roof, near the side window.


1976 Trillium: This fracture was likely caused by the interior upper cupboard being forced downward, pushing out the side wall.

1976 Trillium: This is another view of the fracture to the roof and side wall on the driver's side, near the front.

1976 Trillium: More ugliness near the side window!

1976 Trillium: This is the foam backing from the carpet.  It was sopping wet because the roof couldn't keep the weather out.


1976 Trillium: This is the front window with the sun shade / stone guard removed.

1976 Trillium: And this is the rotten plywood strip below the front window, with the window unit removed.  None of the plywood strips will be saved and re-used.
What's next?  Figuring out how to re-align the deformed sections of the fiberglass shell and patch them.

Monday 10 October 2016

I'm back!

Update: August 2016
It's been a long time since I've added anything to my Boler Blog.  We had a great holiday in PEI in 2015, but this year we only managed to get away for couple of weekends at provincial parks closer to home.  In this picture, we revisited Sturgeon Bay Provincial Park, on Georgian Bay.  It's where we went on our restored Boler's inaugural trip three summers ago.
  Joining us on our trip this summer were our son Carl and his girlfriend.  For a few years now, all four of our children have expressed a desire to have their own Bolers, and Carl has seemed the most enthusiastic about the idea.
And this is where I begin the next phase of my fiberglass trailer adventure.  A few weeks ago (mid-September, 2016) I spotted a Trillium trailer with a hand-made For Sale sign taped to the front window shade.  I couldn't resist!  The seller said that it had suffered some damage.  Here is what it looked like on that day:


The damage consisted primarily of large cracks in the fiberglass body, along the roof on the driver's side.  It was pretty bad, probably caused by a large tree limb falling on it, but I thought it was within my abilities to repair it.  I hadn't done any fiberglass work on my '72 Boler, and had only limited experience working with fiberglass when I repaired a hole in one of my canoes.  The seller and I settled on a fair price, and then I drove home to prepare my Subaru Forester for towing the trailer away.  I was apprehensive about telling Gail that I had just spent money on a second trailer, so I did what any sensible husband would do in similar circumstances -- I said nothing more than "I have to return to town to get something important at the store."
My son Carl helped me haul it home, and during the drive we decided that restoring it would be an excellent father-son project. He recently graduated from university and is a fully-employed chemical engineer.  He owns a new Subaru Crosstrek -- a suitable small car for pulling a lightweight fiberglass trailer.  Last week he completed the vehicle registration papers, and so the trailer is officially his.  As for Gail's reaction, it turned out that she was thrilled.  In her excitement that evening she pulled Carl over to her computer to take him on a cross-Canada tour of Trillium and Boler ads on Kijiji in order to show him just how rare and coveted they are.  (More people post "trailer wanted" ads than post "for sale" ads.)

Carl has begun a blog called "Carl's TrilliumTrailer Resuscitation" to document the work on this Trillium.  I have decided to include our work in my ongoing Boler blog -- not to simply duplicate the content of his blog, but to see if my perspective on the work proves to be any different than his. Here is his web address:  http://carlstrillium.blogspot.ca/   You should definitely follow both!

See you at my next posting,
Louis

Tuesday 27 May 2014

Eggs On The Run 2014: Our First BolerFest

This past weekend, my wife and I attended our first fibreglass trailer gathering.  It was the "Eggs On The Run" event held at the Cobourg East Campground near Cobourg, Ontario.  And it was just the third excursion we have made with our newly rebuilt Boler.  We arrived in the rain late on Friday night, and our set-up went smoothly.  It was pretty much straight-to-bed following a glass of beer.
In the morning, we said hello at the registration tent and then got set for a tour of nearly everyone else's trailer.  Here is a photo exhibit of some of the trailers we saw.
Eggs On The Run 2014 - Registration tent
Eggs On The Run 2014 - The Rear of the Headquarters

Eggs On The Run 2014 - Patriotic Boler

Eggs On The Run 2014 - Contrasting Geometry

Eggs On The Run 2014 - Great colour scheme

Eggs On The Run 2014 - Front stone guard with image of this Boler

Eggs On The Run 2014 - Colour-coordinated propane tank

Eggs On The Run 2014 - Nice flower & bird design, from Quebec

Eggs On The Run 2014 - My next-site-neighbour: we're a bit hidden by his car!

Eggs On The Run 2014 - Boler painted to match the Honda. Interesting window installation!

Eggs On The Run 2014 - The only U-Haul in attendance

Eggs On The Run 2014 - Boler with classic Chev to match. You ought to see the interior decorating!

Eggs On The Run 2014 - Cadet with custom woodwork inside

Eggs On The Run 2014 - Boler with power, water and jerry-can septic tank

Eggs On The Run 2014 - Casita and Bigfoot: high-end comfort
We had a lot of fun at this trailer gathering.  We don't think we'll make it to Bolerama: Hitchstock in July, but we're sure we'll make appearances at other events in the coming years.  A big "thank you" to the organizers of Eggs On The Run!
Eggs On The Run 2014 - Some very nice people that we met, and hope to meet again